
If you look at this color right here, that’s the factory color right here, because no one’s messed with it. So if you look at this color, then it’s like, how do you mix the color? It’s so dirty. So you mix it to a place, either here or I go to the backseat because when I open these doors, you want it to match. We don’t want it completely smooth because it won’t look right, but we’re gonna take a little bit of that out of there.
And then we’re gonna dye it. Someone’s dyed this before – that’s how I know – which is not unusual. So this cleans it. It also preps the leather for the dye.
This is 320. It’s kind of like sanding a bumper, you know, how you have to rough up the surface. This is pretty much what this is doing. What you’re doing is you’re reconditioning the leather. Now we gotta do the crack filler. We don’t want to put on very thick. We just want to cover the actual cracks and then just take off the excess of it. Like I said, it won’t completely take all of them out of there. That’s not what we’re looking for. Just looking for it to be a nice smooth surface.
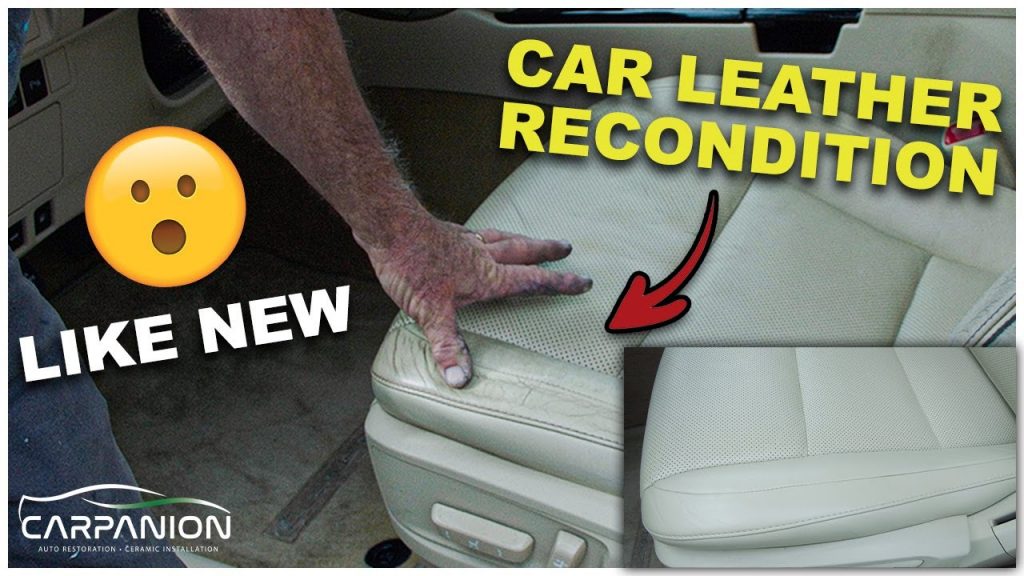
This called Perforated. It’s not easy to fix perforated seats. It takes a lot a lot more time.
Actually my dyes want to cover most all this stuff. That stuff that you see. That kind of… my dyes want to fill in all that. I’m just trying to put a thin coat. It’s really not that bad of shape you see.
All right. So because this is an air dry basically, that’s what we got to do. We gotta let it dry. And what we can speed up when it’s cold with a heat gun. The thicker that you fill them, obviously the longer it is going to take for it to dry underneath. But when you just put a real fine coat like that it’ll it’ll cure out pretty quick.
You’re gonna sand this down just a little bit. Just make sure that it’s just staying in the low places and coming off the top, off the surface of it. Kind of like Bondo does on Bumpers. We’re just filling it with something like Bondo on a bumper.
So that’s good. We’re ready to dye it. We should make it more orange. We’re gonna put one coat on it. From that we should be to see if our color is close enough or not we’ll have to tweak the color.
How’s that looking. See how it didn’t filll that right there even though I dyed over top of it it didn’t fill in there. We’re gonna put a little bit of crack filler, gray, and then go over it and it’ll fill it.
It’s very fast. It’s already dry. You can sit on that right now. That’s how fast it dries.
What we’re gonna do, we’re gonna put this a little bit of gray right here, because if you look at it now, I can see where it’s worn down through the leather. I thought it was just a black Mark. It’s actually got a wear place in it. I mean, it feels really good, but if you put a lot of dye on it, it’ll actually make it a little rougher feeling. So the last step is actually a leather conditioner called Lexol. I just put a little bit on a rag. And all this will do is get any burrs off of it, make it feel more like supposed to, like real leather.
Also makes it smell good.